Building The Legs
In this chapter, we will be building the 4 legs.
Required 3D-printed parts per leg:
- Left legs:
- Leg-Top-Left
- Leg-Bottom-Left
- Leg-Joint-Top-Left
- Leg-Joint-Bottom-Left
- Sock (Printed in TPU since this part is to provide grip)
- Right legs:
- Leg-Top-Right
- Leg-Bottom-Right
- Leg-Joint-Top-Right
- Leg-Joint-Bottom-Right
- Sock (Printed in TPU since this part is to provide grip)
Assembly
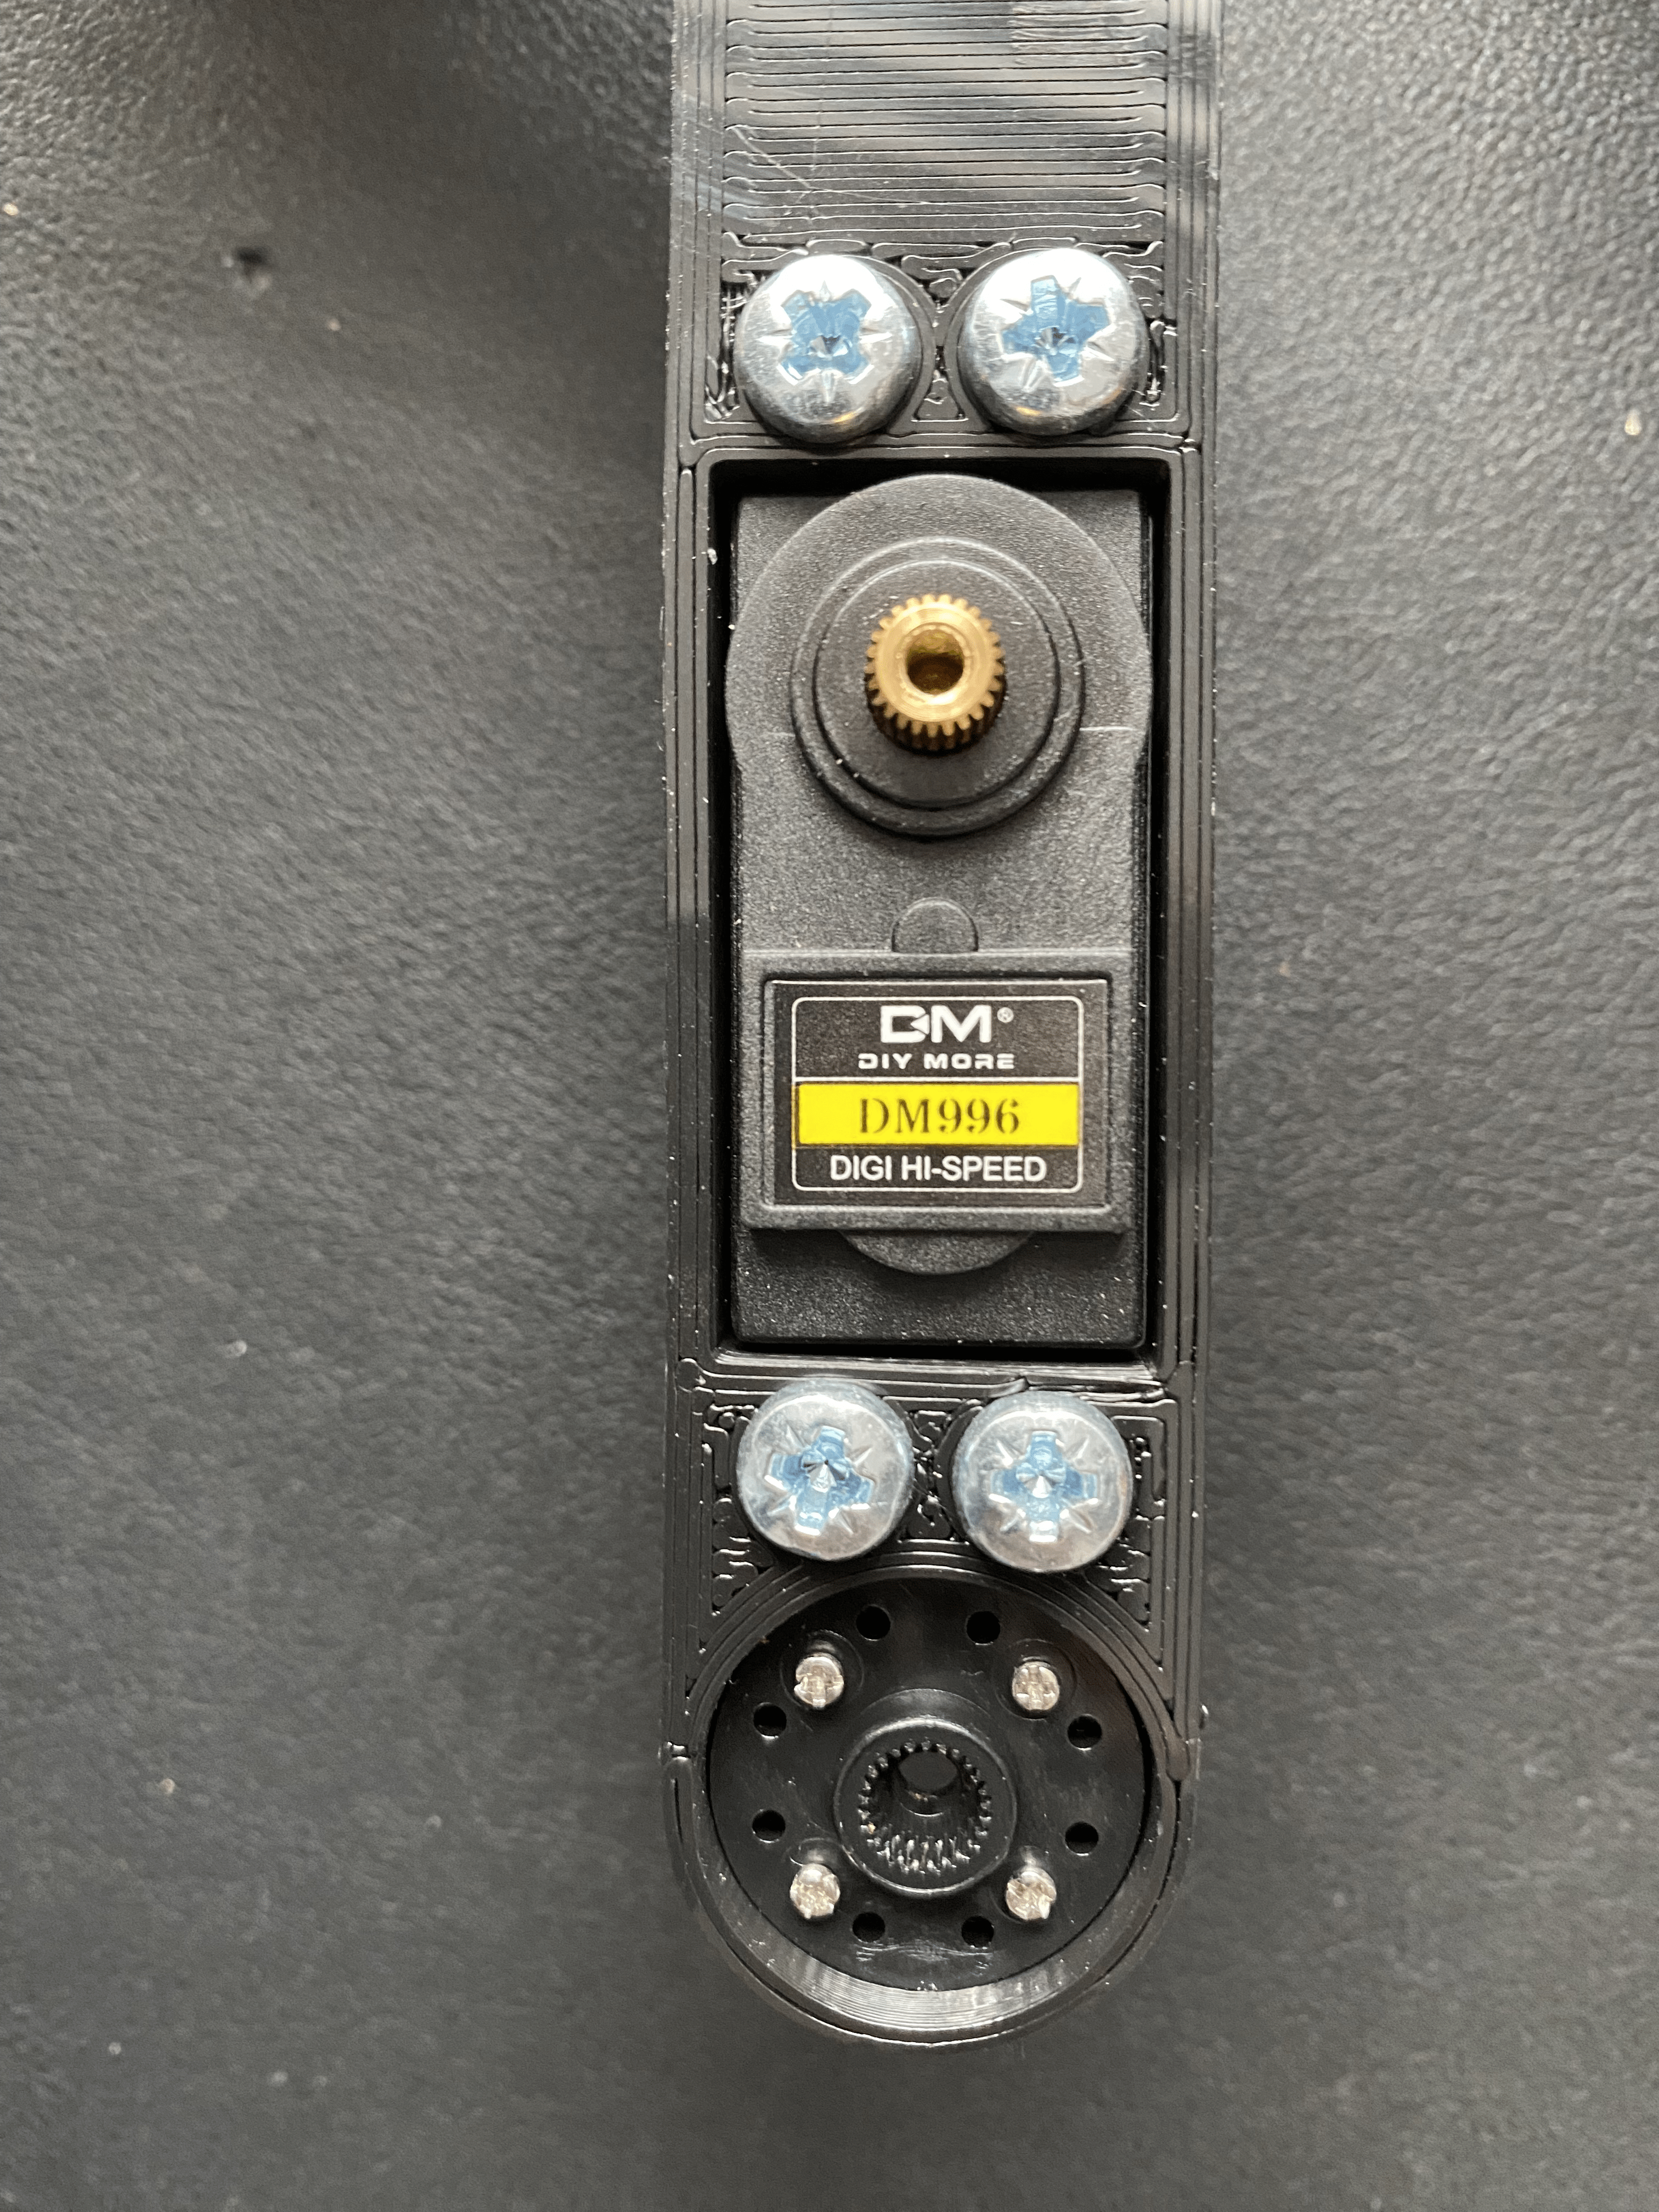
First, take the top part of the leg and attach the servo in the hole. The gear of the servo should be facing the same way as the hole at the top for the circular servo attachment. Then attach the circular servo horn in the top hole using 4 small screws. After doing those 2 steps, it should look something like this.
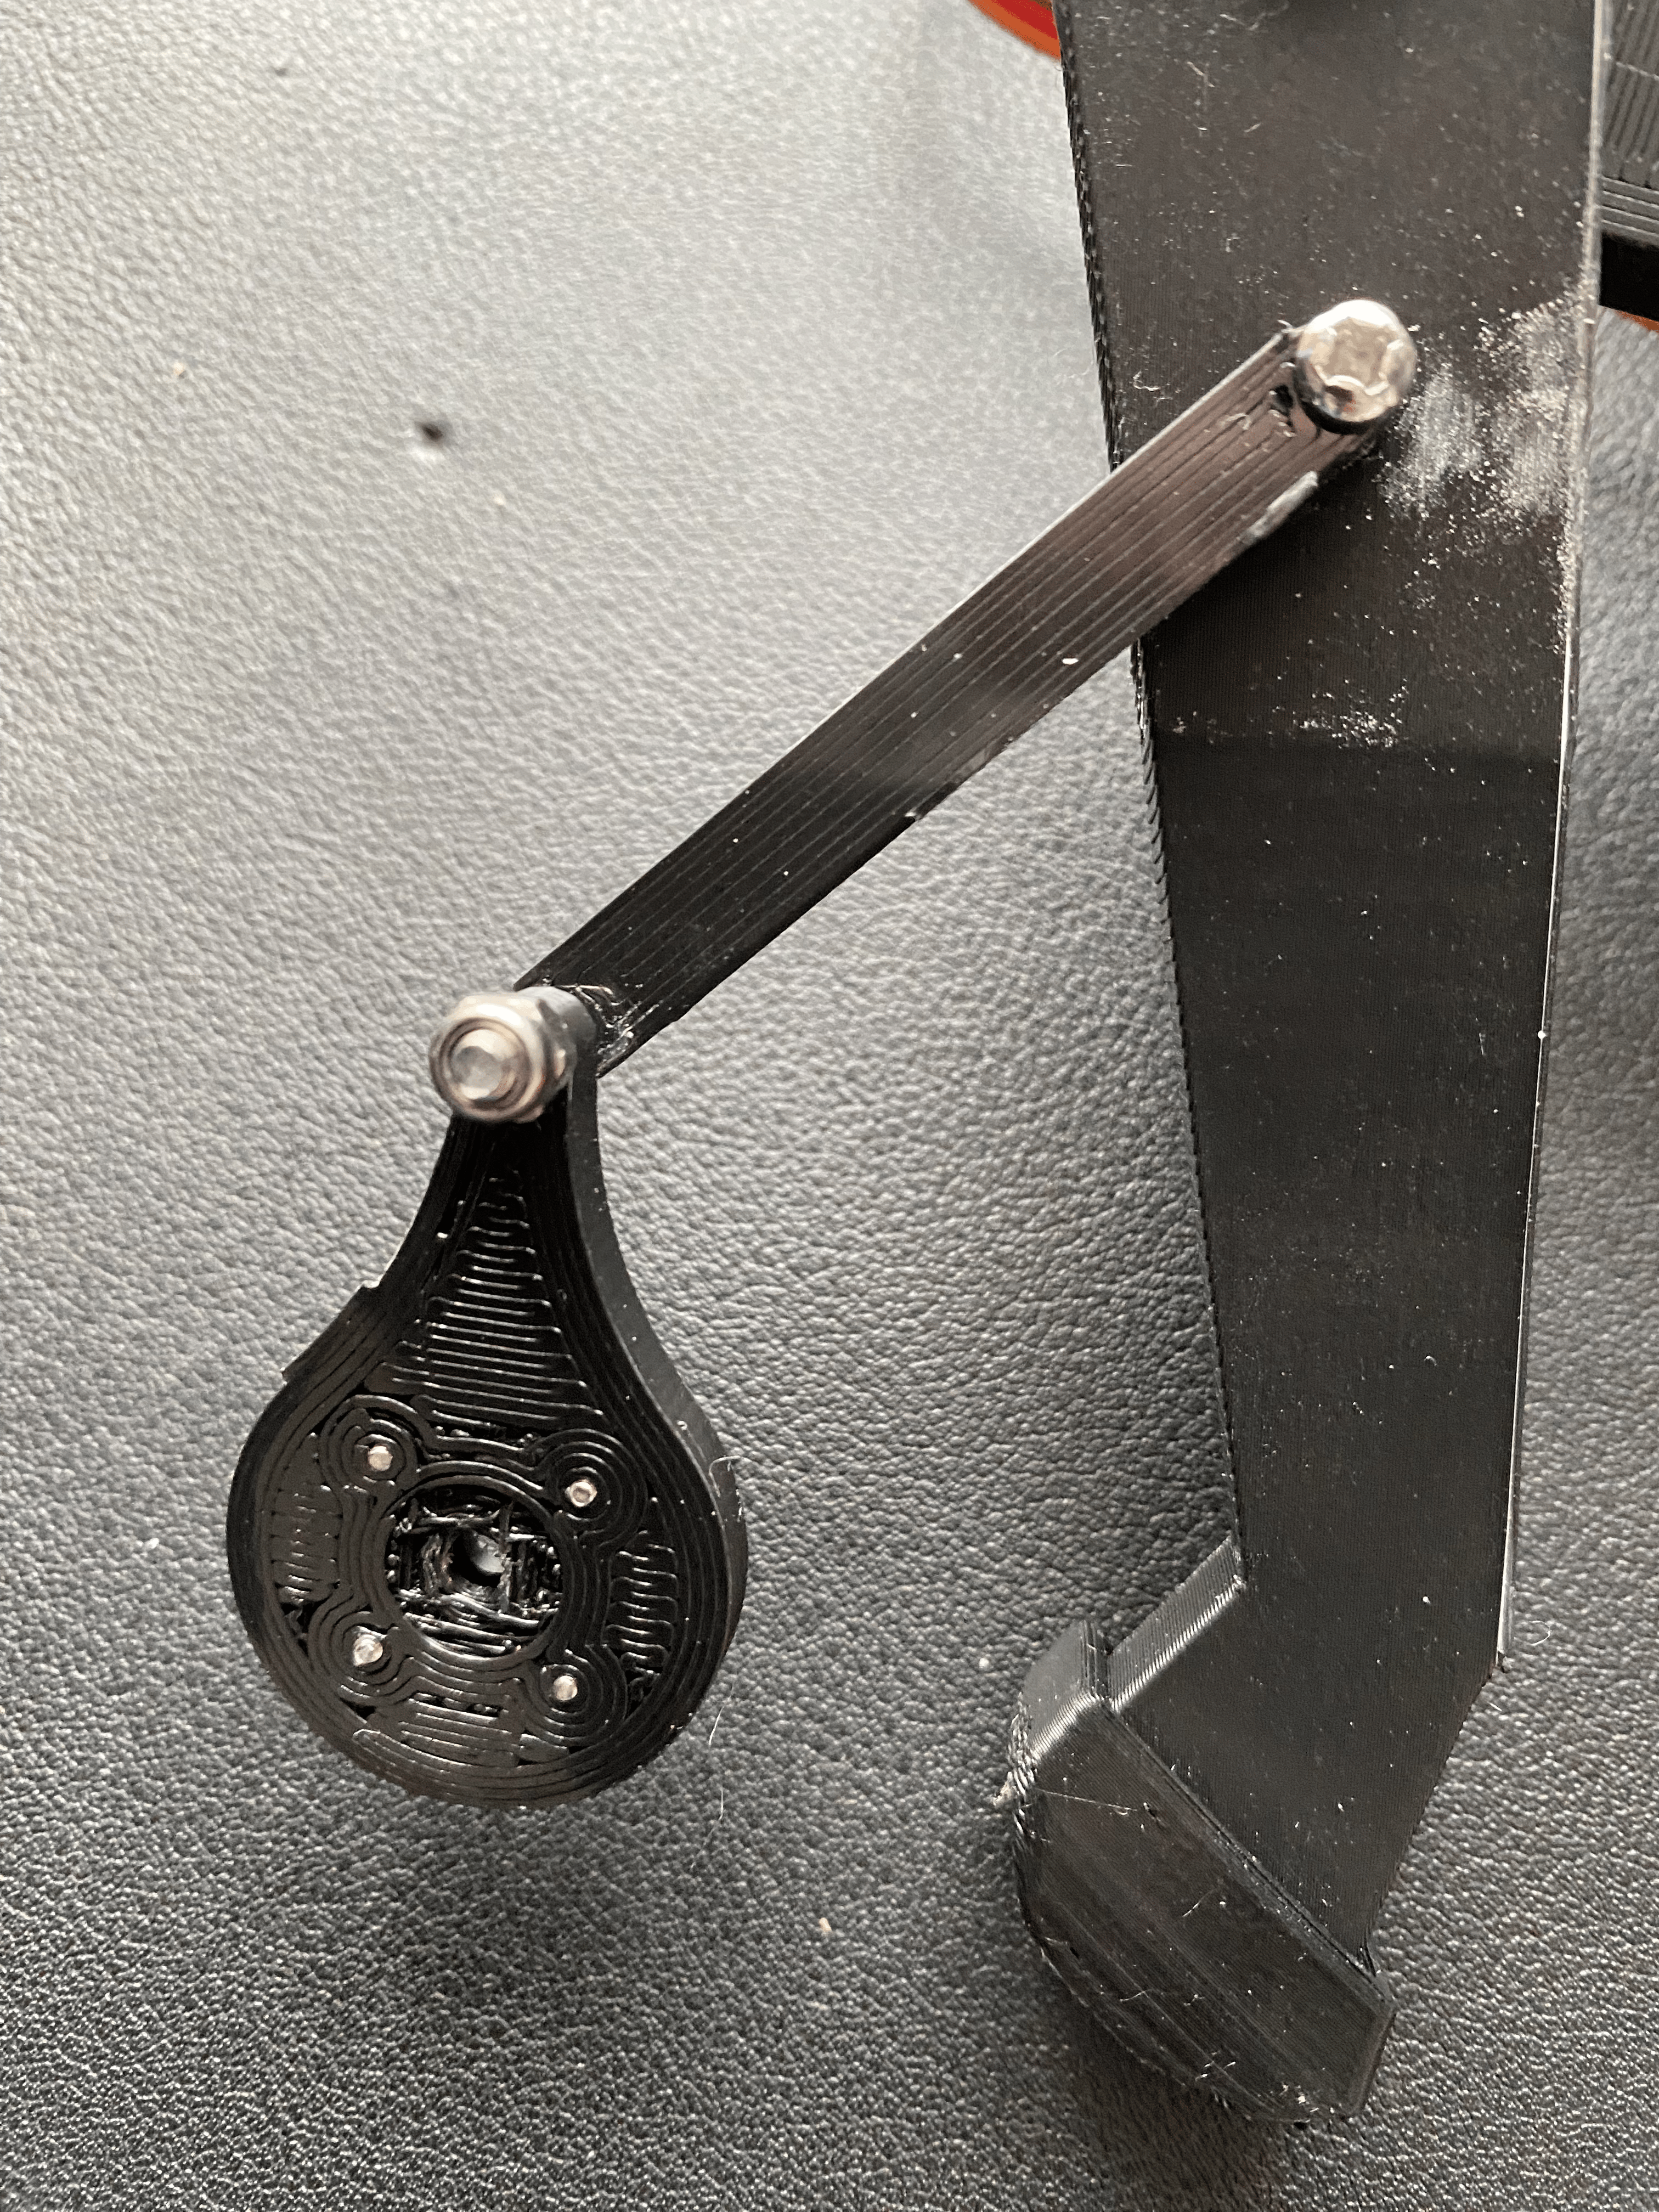
Then attach the Leg-Joint-Top and Leg-Joint-Bottom part together using an M3 screw and a locknut. Don't overtighten it, it should be able to rotate freely. Then attach it to the bottom leg part, after doing that it should look something like this.
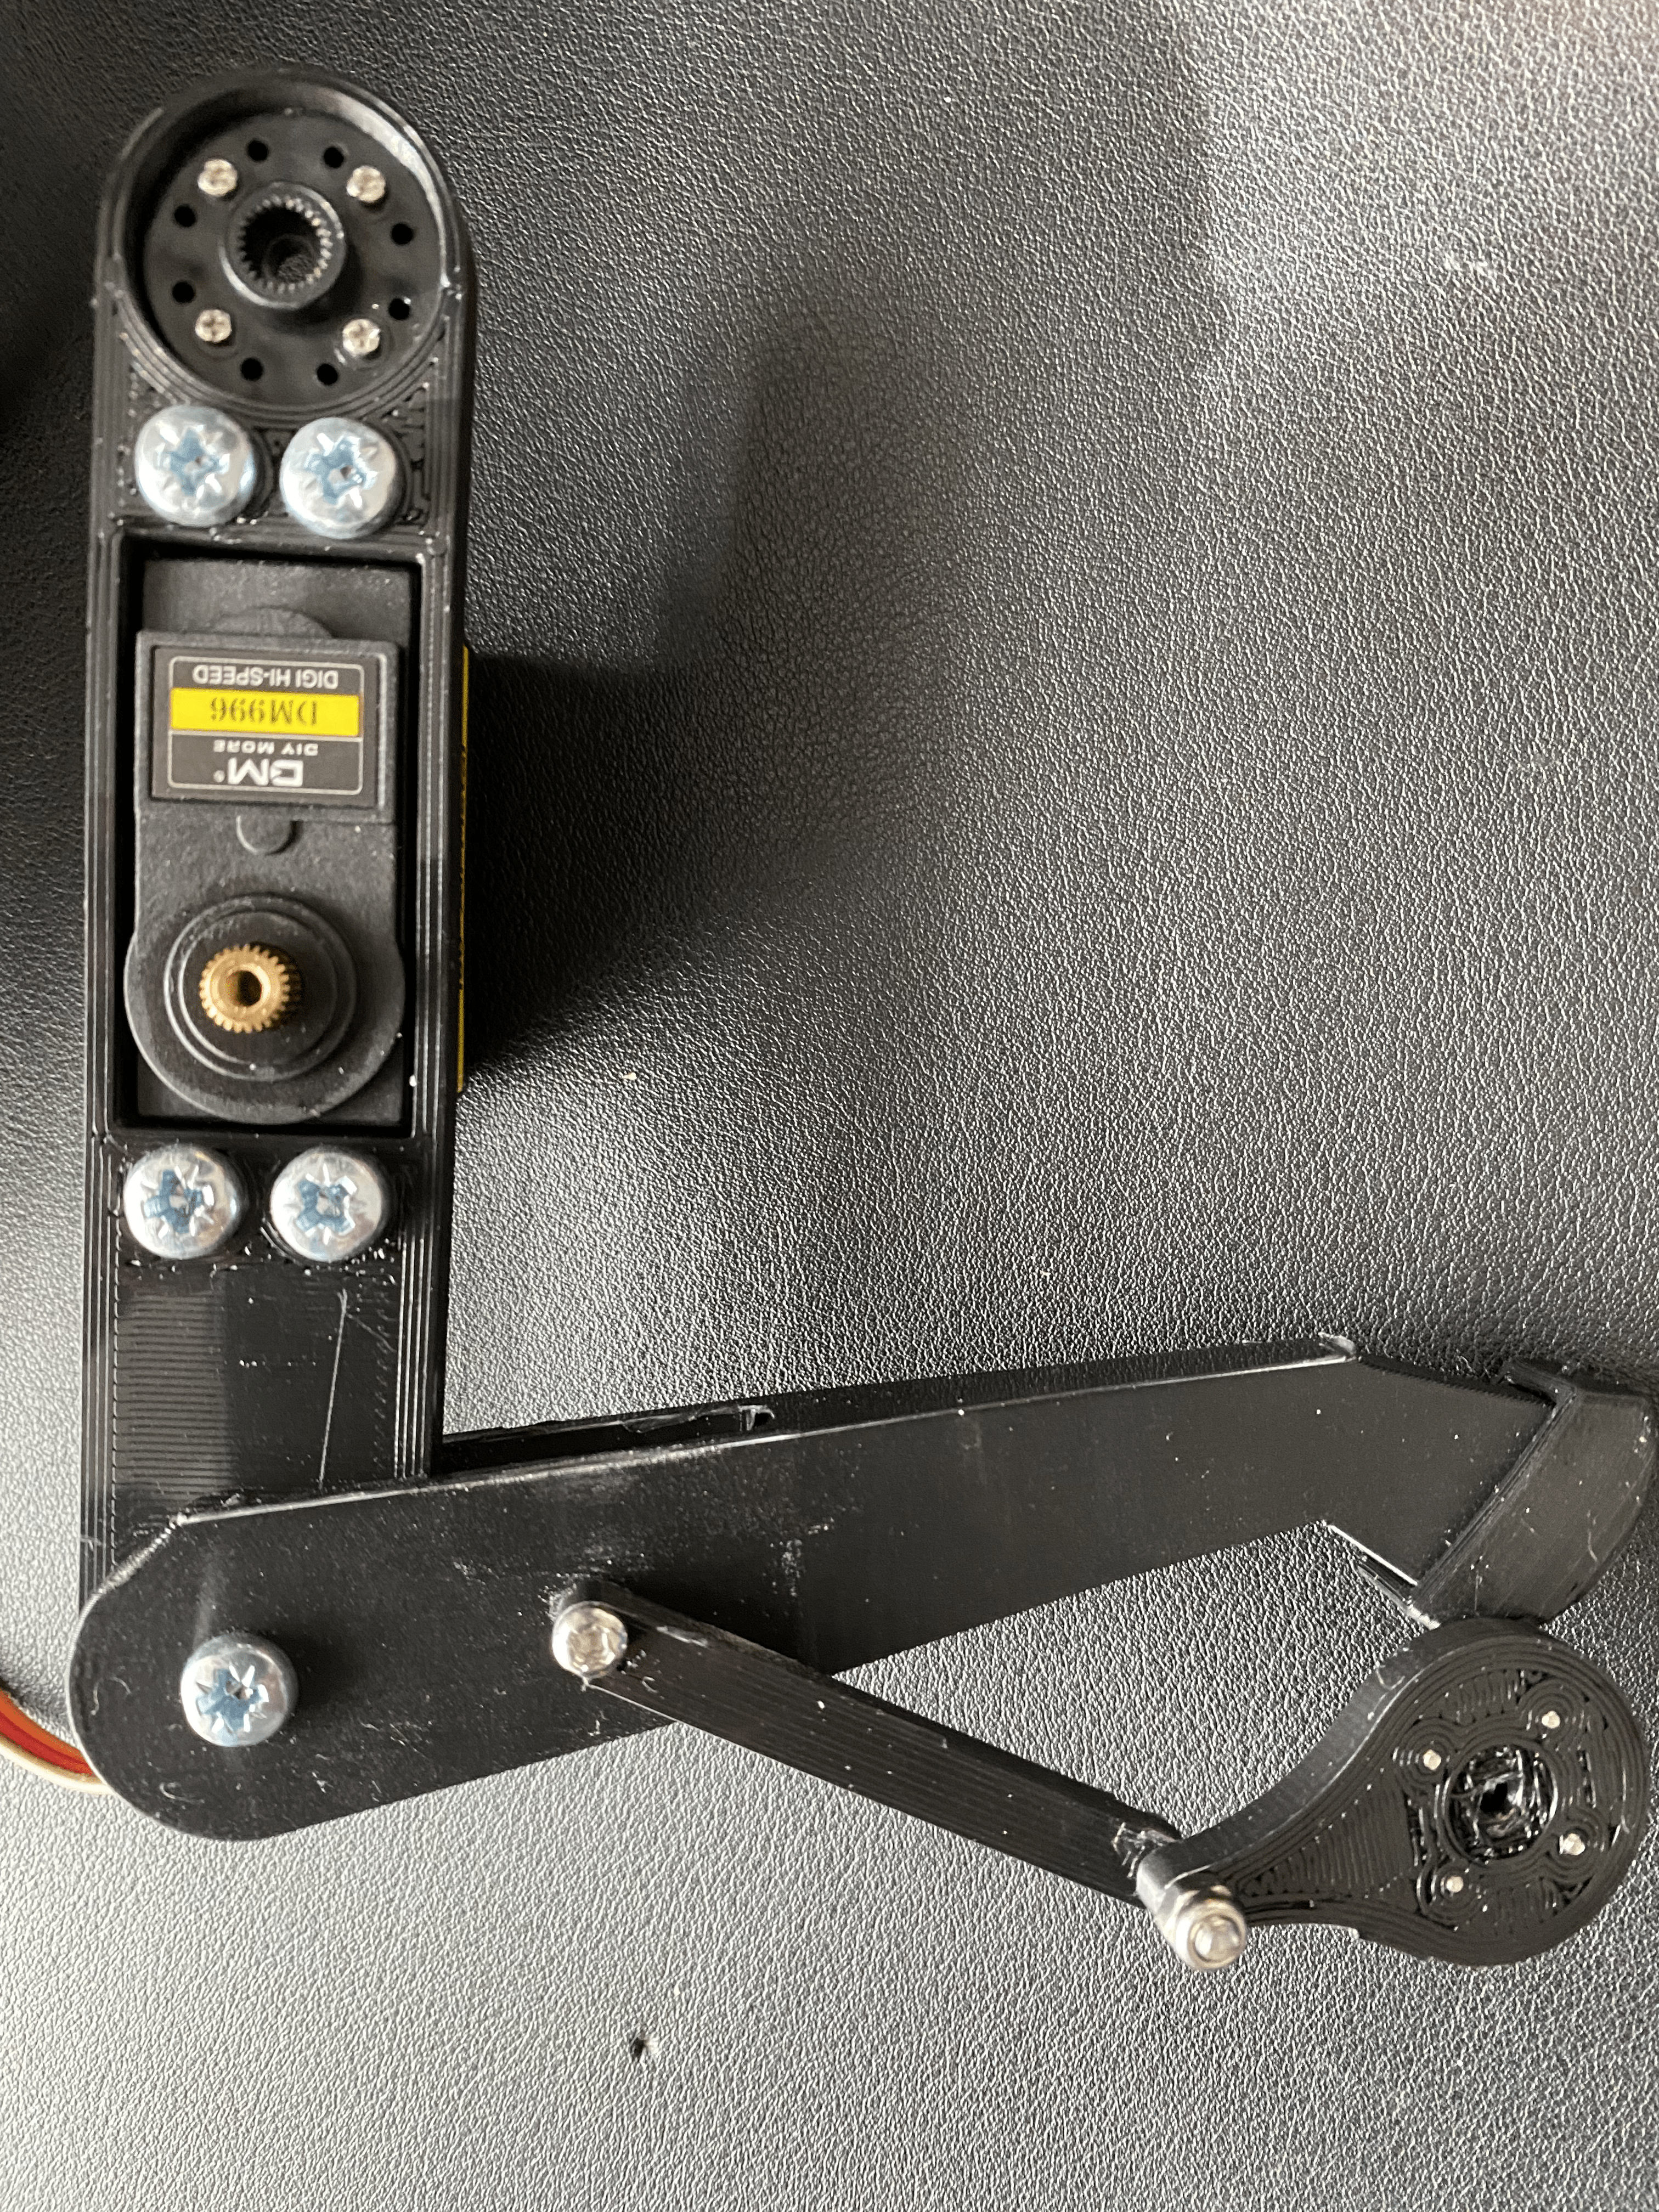
Then connect the top and bottom of the leg together using an M4 screw and a locknut, again don't overtighten it since it should be able to rotate freely. After doing that you should have something like this.
Then finally you must set the servo to 90 degrees, to do this connect the servo to the servo driver and run the following command on the Raspberry Pi.
$ python3 ~/AQLARP/scripts/set90.py
Then connect the top joint part to the servo, try to make the angle as close to 90° as possible. Then lock them together using an M3 screw.
And that is a completed leg. The rest of the servos will be added when assembling the body since if you attach them now, you won't be able to access some parts that you will need to access later.